How to install InvoiceFlash
Creating a database
The first step is to create a database on a MariaDB 11.7 or later server for InvoiceFlash to store its data. Log into the site's control panel and locate the databases section. There you can create a new database by entering a database name and a username/password to access it. The user that was just created needs to be added to the database, with all of the necessary permissions enabled. We will use this database information later when we configure InvoiceFlash with the auto-installer.
Do not use the root user
Create a dedicated user for InvoiceFlash. Do not use the database root user or its password.
Launch the auto-installer
With a new database freshly created, we are now ready to install InvoiceFlash directly onto a website. Open a web browser and enter the web address of where you uploaded InvoiceFlash. If the "install" folder in "upload" was uploaded correctly, you should be automatically greeted by the following page:
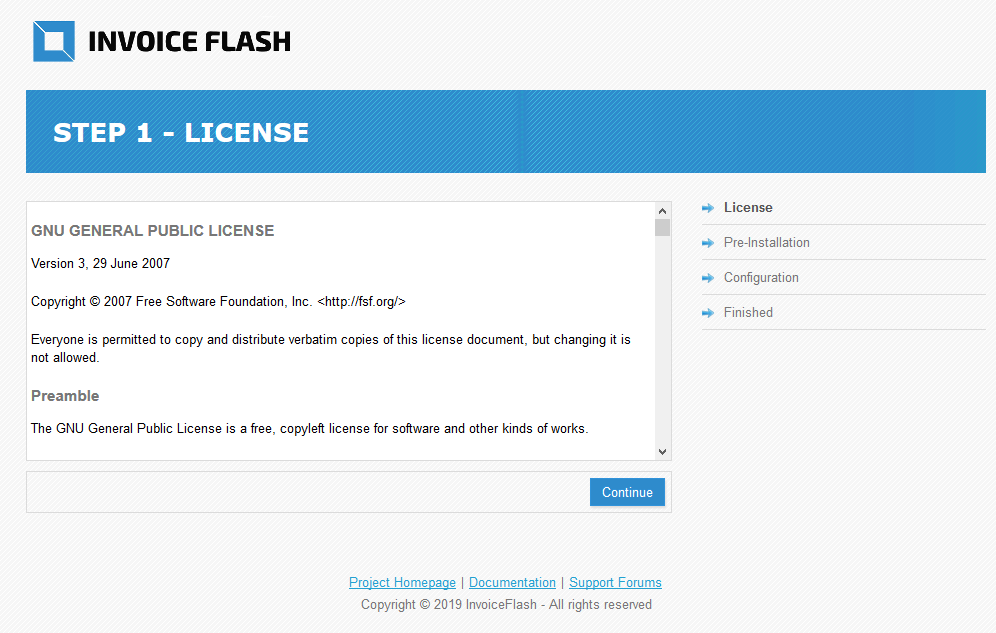
This page is the installation page. The following steps will help you complete the installation process for InvoiceFlash.
Step 1. License
You may read through the license, check "I agree to the license", and press "Continue".
Step 2. Pre-Installation
This step checks that the web server has the technical requirements and correct permissions to set up InvoiceFlash properly. If red marks are visible on #1 or #2, you need to make sure that these components are properly installed on the web server. You should contact your hosting service if there are any issues with this. If there are red marks on #3 or #4, there might have been an issue with uploading the files using the FTP client. If everything is configured correctly and green marks are visible (as seen below), you may press "Continue".
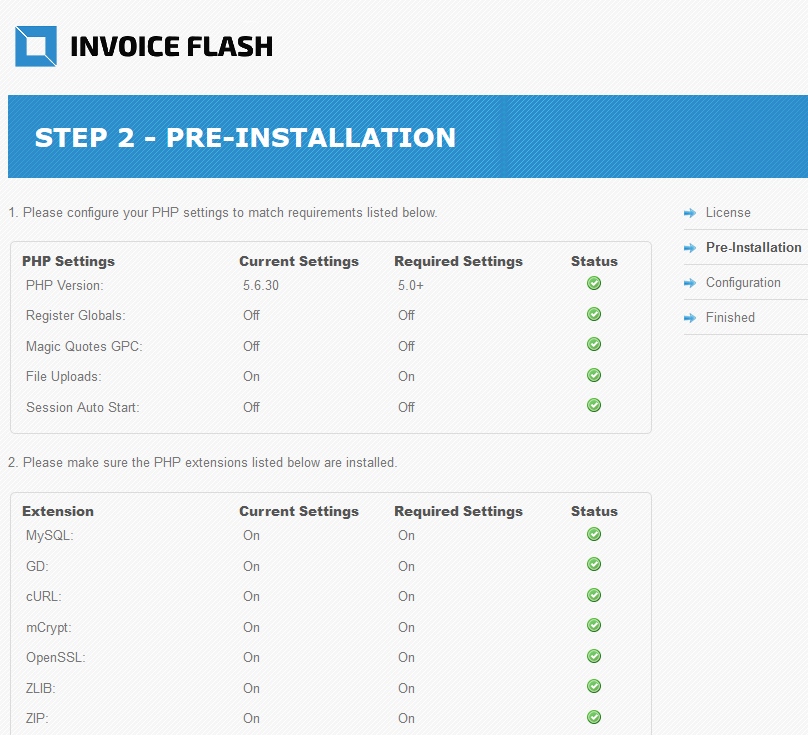
The following files need to be renamed to continue to Step 3:
config-dist.phptoconfig.phpadmin/config-dist.phptoadmin/config.php
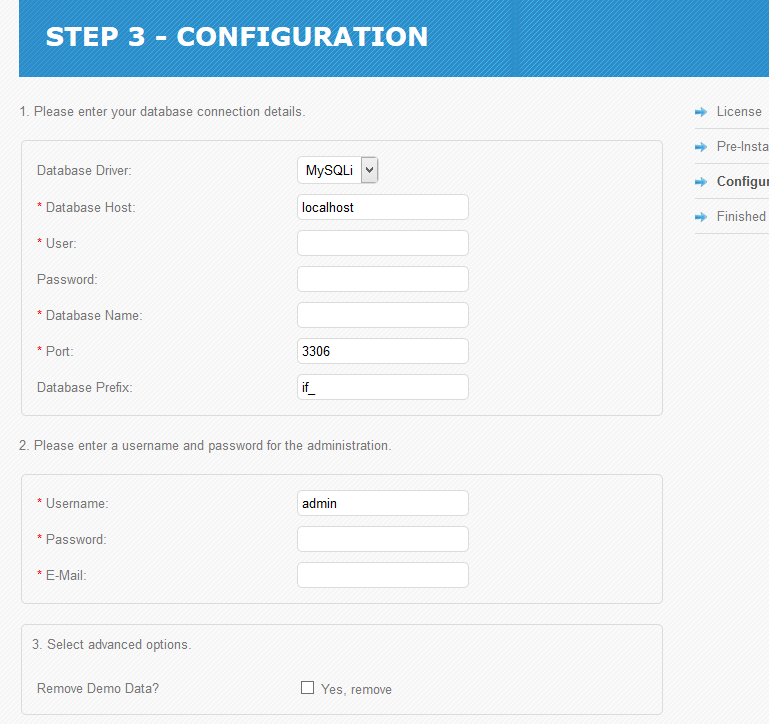
Step 3. Configuration
Fill in the fields under #1 with the database connection details (username/password, database name) established when you created the database. Under #2, create a new username and password for administration access to InvoiceFlash. When finished, press "Continue".
Step 4. Finished
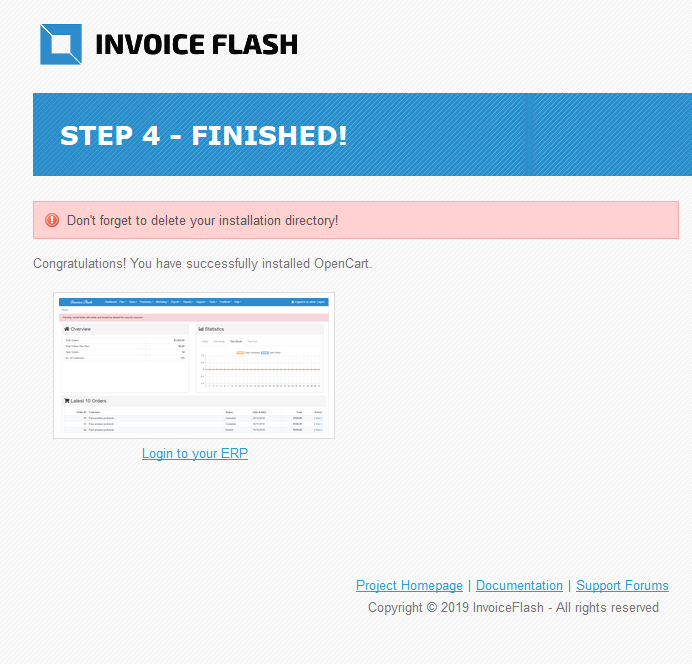
Now that the installation is complete, the "install" folder is no longer required.
Delete the install folder
For security reasons, delete the "install" folder in the Remote Site section of FileZilla. You can now log into the InvoiceFlash administration with the user you created in step 3.
After the install, it is a good idea to improve the security of your server and of the InvoiceFlash directory (for example, leave config.php and admin/config.php read-only).